This Loader is a Beast: Why Kubota Front-End Loaders Rock
Kubota front-end loaders are renowned for their robust performance and reliability. Farmers consistently praise their ability to handle diverse tasks—from moving hay bales to digging post holes—with ease and efficiency. The build quality is top-notch, contributing to their impressive durability and longevity. However, some users have reported challenges with the installation process. This guide addresses both the loader's strengths and provides a straightforward installation guide to mitigate reported issues. For additional resources, check out this helpful Kubota Loader Guide.
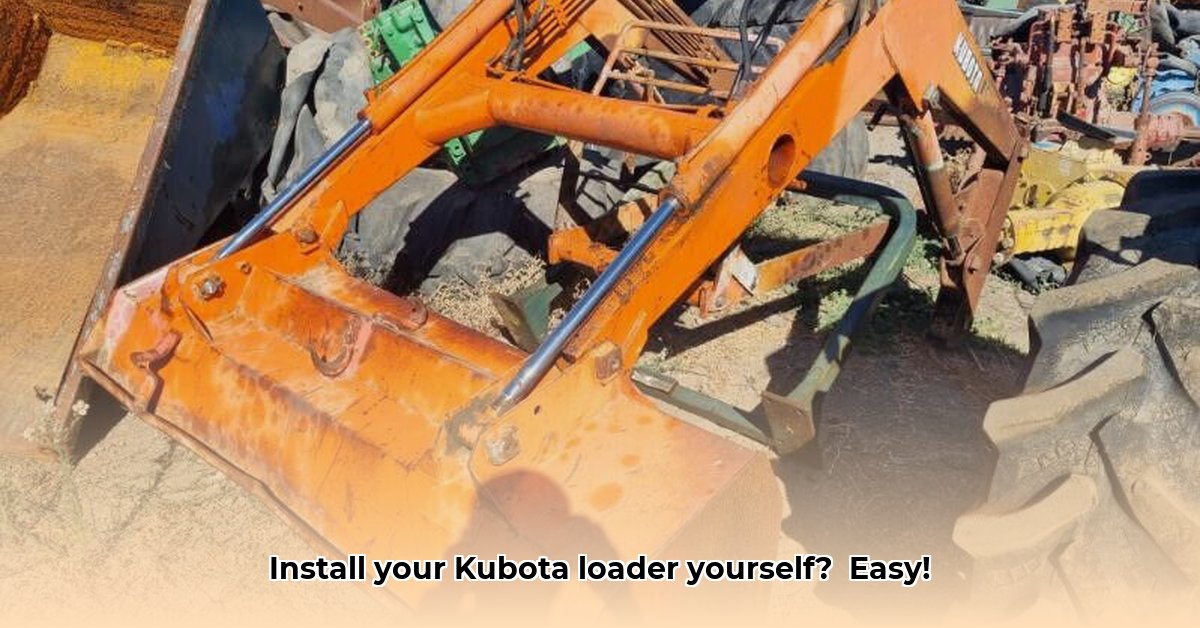
Conquering the Installation: A Practical, Step-by-Step Guide
The original installation instructions for Kubota front-end loaders have received criticism for being unclear and potentially leading to problems. This improved guide simplifies the process.
Step 1: Preparation is Key: Begin by gathering necessary tools and parts. This includes standard wrenches (sizes will vary depending on your model), a roll of Teflon tape (essential for preventing hydraulic leaks), and a torque wrench (for precise tightening of fittings). Refer to your Kubota manual for a complete parts list. Don't skip this! Proper preparation significantly reduces installation time and potential issues.
Step 2: Hydraulic Line Identification: Carefully study the Kubota hydraulic diagram. Correctly identifying each hydraulic line is crucial. Mismatched lines are a common cause of leaks and operational problems. Take your time; accuracy here prevents major issues.
Step 3: Connecting the Hydraulic Lines: This is where many problems occur. Before connecting any hydraulic line, wrap the male threads of each fitting with Teflon tape. Wrap it smoothly and tightly, ensuring that there are no gaps. Then, connect the lines to the corresponding fittings on both tractor and loader. Using a torque wrench, tighten the fittings to the manufacturer's specifications, avoiding over-tightening (which can damage the fittings).
Step 4: Mounting the Loader: Carefully align and mount the loader to your tractor, following the instructions in your Kubota manual. Ensure that all bolts are securely tightened to the manufacturer’s specifications. Take your time! A few minutes of additional precision now prevents major hassles later.
Step 5: Electrical Connections (if applicable): If your loader model includes electrical components, connect them according to the Kubota manual’s instructions. Double-check all connections before proceeding.
Step 6: Testing and Leak Detection: After installation, thoroughly test the loader's functionality. Operate the loader through its complete range of motion, checking for any leaks or unusual noises. Even small leaks require attention – address them immediately. Early detection of leaks is significantly more effective than post-installation repair.
Step 7: Free-Float Detent Adjustment (if applicable): For models with a free-float detent mechanism, consult your Kubota manual for adjustment procedures.
Weighing the Pros and Cons: A Balanced Perspective
The Kubota front-end loader offers numerous advantages:
- Exceptional Performance: Handles a diverse range of tasks with ease, demonstrating high power and efficiency.
- Robust Build Quality: Built tough for long-lasting durability, minimizing the need for frequent repairs.
- Significant Productivity Gains: Increases overall farm effectiveness and efficiency.
However, challenges remain:
- Installation Complexity: The provided installation instructions could be significantly improved for clarity and precision. This guide offers valuable improvements.
- Potential for Leaks: Improper installation can lead to hydraulic leaks if not handled carefully using the recommended techniques.
The Bottom Line: Maximize Your Investment
The Kubota front-end loader represents a significant investment in farm productivity. By carefully following the detailed steps provided in this enhanced installation guide, you'll avoid common pitfalls, ensure a leak-free installation, and enjoy the many benefits of this efficient and powerful piece of equipment for years to come. Remember, the payoff of a meticulously installed loader greatly outweighs the initial effort.